 Contact
 Support
 Wishlist
 Home
Home Categories
 PHP Script
 WP Themes
 WP Plugins
 66Biolinks Plugins
 Tutorial
 Important Links
 Hosting
 Services
 Request Item
 My account
Tech
How to Add an Image Converter Tool to Any Website in 10 Minutes
Jun
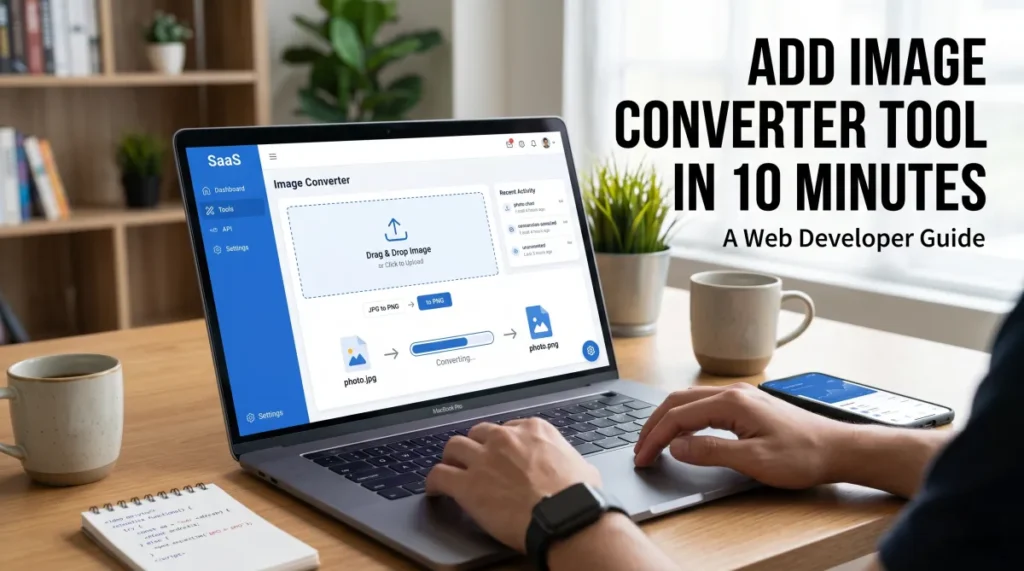
Images are essential for modern websites, but users frequently need to convert files between formats such as JPG, PNG, WEBP, GIF, and BMP. Sending visitors to third-party converters often results in lost traffic and reduced engagement. A better approach is to offer image conversion directly on your own website.
The good news is that you don’t need advanced coding skills or weeks of development. With the right toolkit, you can add a professional image converter tool in less than 10 minutes. This guide explains the fastest setup method, key features to look for, and how to maximize the value of your new tool.
Why Add an Image Converter Tool to Your Website?
An image converter tool provides immediate value to visitors. Instead of searching for external services, users can upload, convert, and download images directly from your website.
Benefits include:
- Higher user engagement
- Longer session durations
- Reduced bounce rates
- More returning visitors
- Additional opportunities for organic search traffic
- Improved website authority in your niche
Whether you run a tech blog, SaaS platform, educational portal, agency website, or online tools directory, image conversion functionality can become one of your most-used features.
What You’ll Need Before Installation
Before getting started, make sure you have:
- A web hosting account
- PHP support enabled
- Access to your hosting control panel
- FTP or File Manager access
- A ready-made web tools solution
One of the easiest options is the MonsterTools All-in-One SEO Web Toolkit, which includes multiple online tools and can be deployed quickly without building everything from scratch.
Step 1: Choose the Right Image Converter Solution
Not all image conversion tools offer the same functionality. Selecting the right solution saves time and improves user satisfaction.
Support Multiple Formats
Your tool should handle the most common formats, including:
- JPG
- PNG
- WEBP
- GIF
- BMP
- SVG (if supported)
Fast Processing Speed
Visitors expect near-instant results. Slow conversions often lead to abandoned sessions and lower user satisfaction.
Mobile-Friendly Interface
Many users access online tools from smartphones. Make sure the converter works smoothly across all screen sizes.
Easy Maintenance
Choose a toolkit that receives updates and provides a centralized admin panel for managing tools.
Step 2: Install the Tool
Most modern toolkits simplify the installation process.
The typical setup process involves:
- Upload files to your hosting account.
- Create a database if required.
- Configure installation settings.
- Run the installation wizard.
- Access the admin dashboard.
For many ready-made solutions, the entire process can be completed in under 10 minutes.
Step 3: Optimize the User Experience
Simply installing the converter isn’t enough. You should make the tool easy to use.
Consider adding:
- Drag-and-drop uploads
- Bulk image conversion
- Progress indicators
- Preview functionality
- Download options for converted files
A clean interface often has a bigger impact on user satisfaction than additional advanced features.
Step 4: Optimize the Tool for SEO
Tool-based websites can generate significant organic traffic when optimized properly.
Create Helpful Content Around the Tool
Add a short explanation describing:
- How the converter works
- Supported formats
- Benefits of each format
- Common use cases
Use Descriptive Page Titles
Examples include:
- Free JPG to PNG Converter
- Convert WEBP to JPG Online
- Fast Image Converter Tool
Improve Site Performance
According to the Google SEO Starter Guide, fast-loading pages provide a better user experience and help improve search visibility.
Step 5: Expand Beyond Image Conversion
Once your image converter is working, consider expanding your tools library.
Additional tools often requested by users include:
- Image compression tools
- Background removal tools
- QR code generators
- PDF converters
- SEO utilities
- Text tools
This is where a complete solution such as the MonsterTools All-in-One SEO Web Toolkit can save significant development time by providing multiple tools under a single platform.
Common Mistakes to Avoid
Using Slow Scripts
Performance issues can drive visitors away quickly.
Ignoring Mobile Users
Always test the tool on smartphones and tablets before launch.
Lack of Security
Validate uploads and restrict unsupported file types.
Poor Navigation
Make sure visitors can easily discover related tools and resources.
Frequently Asked Questions
How long does it take to add an image converter tool to a website?
Most ready-made solutions can be installed and configured in less than 10 minutes.
Do I need coding knowledge?
No. Most modern toolkits include installation wizards and documentation that simplify setup.
Which image formats should be supported?
At minimum, support JPG, PNG, WEBP, GIF, and BMP formats to meet most user requirements.
Can an image converter tool help SEO?
Yes. Utility tools can attract targeted search traffic and improve user engagement metrics.
Is an all-in-one toolkit better than building individual tools?
For most website owners, yes. It reduces development time, simplifies management, and provides a consistent user experience.
How can I keep uploaded files secure?
Follow best practices recommended by the OWASP Top 10 Security Guidelines, including file validation and secure upload handling.
Conclusion
Adding an image converter tool to your website is one of the fastest ways to provide practical value to visitors. With the right toolkit, installation takes only a few minutes while creating a resource users can return to repeatedly.
Focus on speed, usability, mobile compatibility, and SEO optimization. As your audience grows, consider expanding into related utilities to build a more comprehensive online tools platform that serves a wider range of user needs.
